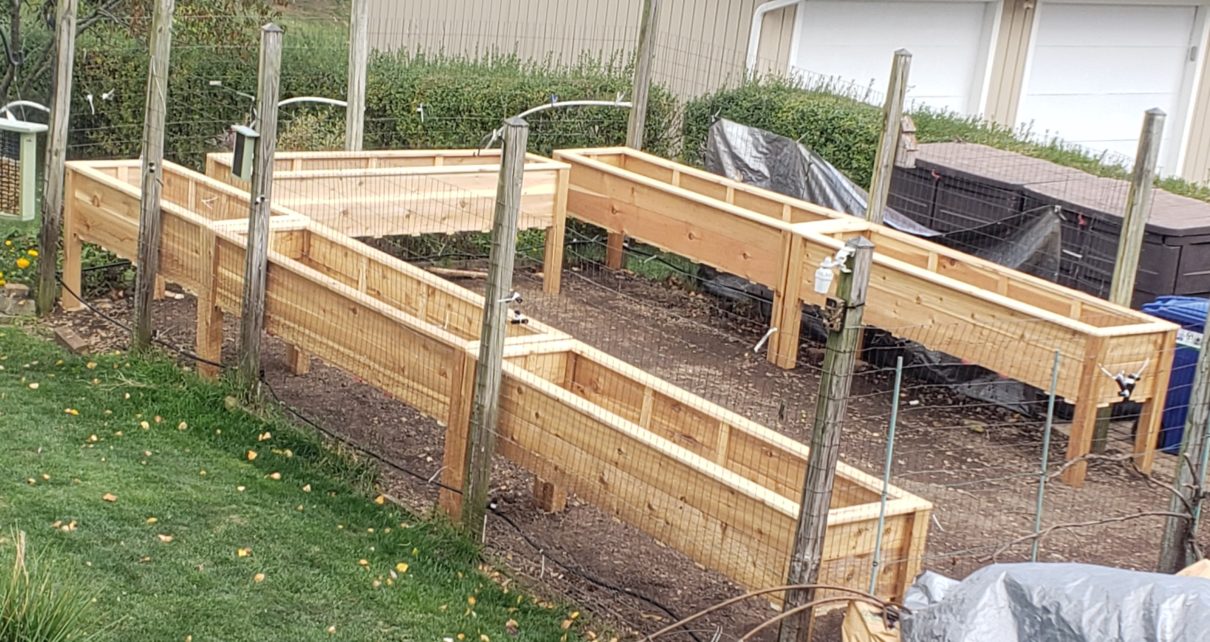
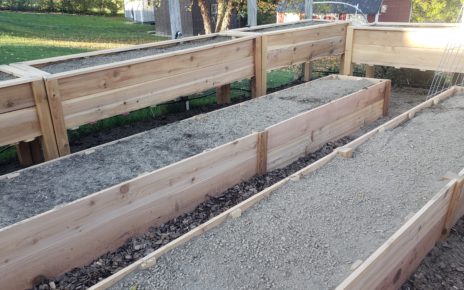
Here’s a big THANK YOU to my husband, Alan! The six elevated garden beds are done! Five of them are 8 ft. by 2 ft. and one is 6 ft. by 2 ft. Since I want to try and focus on square foot gardening next year, I requested that everything be in 1 ft. increments.
While the beds are 16 inches deep, they are 36 inches above the ground so that will minimize bending over – which is important as we age or if you have arthritis or a bad back!
Alan went all in and used cedar because it is more durable and should last longer. Just remember, it is important to use untreated wood so you don’t have chemicals leaching into your soil.
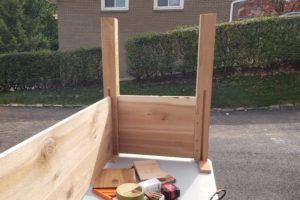
For the legs, Alan used 4 x 4 posts and put in 1 inch deep grooves for the sides to fit in. He used pine furring strips on the inside to provide support for the long boards. Also, he used outdoor torx screws to secure the wood so the beds stay together more permanently.
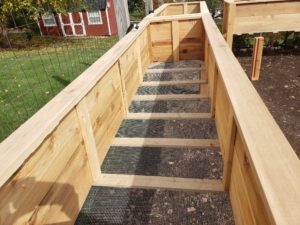
After doing a lot of searching for ideas, he noted the craze on Pinterest was to use cloth mesh for the bottom. I am not sure why they call it cloth mesh because it is made from heavy wire. We purchased Hardware Cloth Mesh that has 1/4 inch opening. He secured the cloth mesh underneath with furring strips and screws – of course! I am hoping we put enough support underneath because adding soil is next!
What is nice about the cloth mesh is that it helps to circulate air for the roots just like grow bags. Since the soil will escape through the holes in the cloth mesh, you need to add some gardening fabric which will be tomorrow’s topic!
Alan also put 1 x 4 trim along the top which gives it a nice finish and something to lean on.
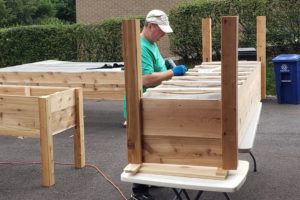
After leveling the beds, we secured them to the fence posts.
Alan is partially done with the lower raised beds which are going in the middle of the garden.
If you missed my post on gutting the garden, you can see how much muscle has been involved.
