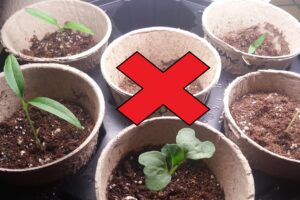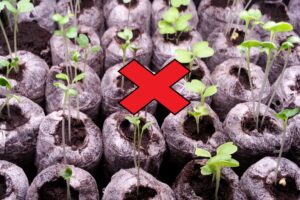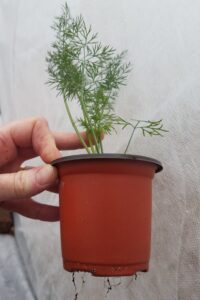
I think many gardeners would agree that you should try to use planters that have holes on the bottom so the roots grow toward the water. I have included two photos of what I don’t use anymore because they encourage the roots to get tangled – the red X will clue you in.
First of all, I use the Pro-Hex Seed Starting Tray which comes with a clear dome, 72 seed cells and a tray. I found that Walmart has the cheapest price for this item – it was only $5 at my local store.
Keep the dome on top – it acts as a mini greenhouse. Each cell has an opening in the bottom for the roots to roam. The tray has indentations or reservoirs for watering from the roots up. I typically water daily from the top until the seeds germinate. After germination, I will water from below. I put enough water to fill the reservoirs until the water is a little above the holes. Using this method, you only have to water every other day or every few days depending on the temperature in your grow room.
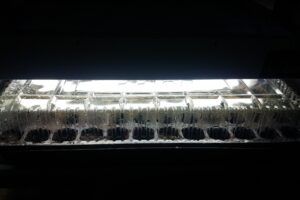
How to remove the seedlings from the cells: 1) Water the cell before you try to remove the seedling. 2) Gently use a thin steak knife (or something similar) to loosen the dirt along the edges. The next step is to carefully transplant – seedlings are delicate!
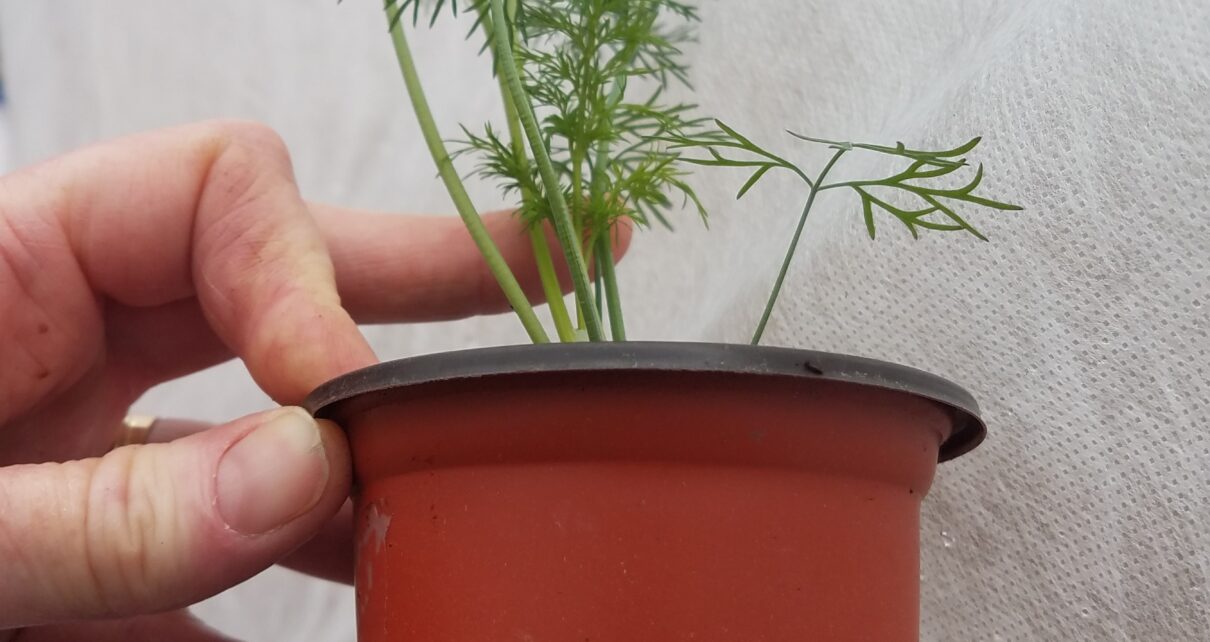
If it is too soon to plant the seedling outdoors, then I will transplant into the pictured 3 inch planter or into 6 cell planters that I reuse from the nursery. I bought the rust colored planters from Dollar Tree. They are called Terra-Cotta Plastic Plant Starter Pots. They have two size options 3 inch and 4 inch pots. I save the 6 cell planters from the nursery when I buy flowers. Since these containers have holes on the bottom, I bought extra trays like we discussed above so I can water the seedlings from below.
Don’t forget that the planters, cells, trays and domes are not crack proof but will hold up if you take care of them.
If you missed my article on heat mats, I am providing the link to help you out. Stay tuned as we have a little more to discuss about my grow room.
